You’ve put effort and money into building a patio that fits your lifestyle. It looks attractive, feels comfortable underfoot, and may even add value to your home. But once it’s finished, one of the biggest questions is — do you really need to seal it?
Sealing isn’t always essential, yet many homeowners choose to do it for the added protection it provides. Whether your paving is natural stone, concrete, or porcelain, a good patio sealer can help guard against weathering, stains, algae, moss, and everyday wear.
This guide answers the most common questions about patio sealing, giving you practical advice on whether it’s right for your paving. Use it as a starting point to understand the main benefits, potential downsides, and the process of keeping your outdoor space protected and looking its best.
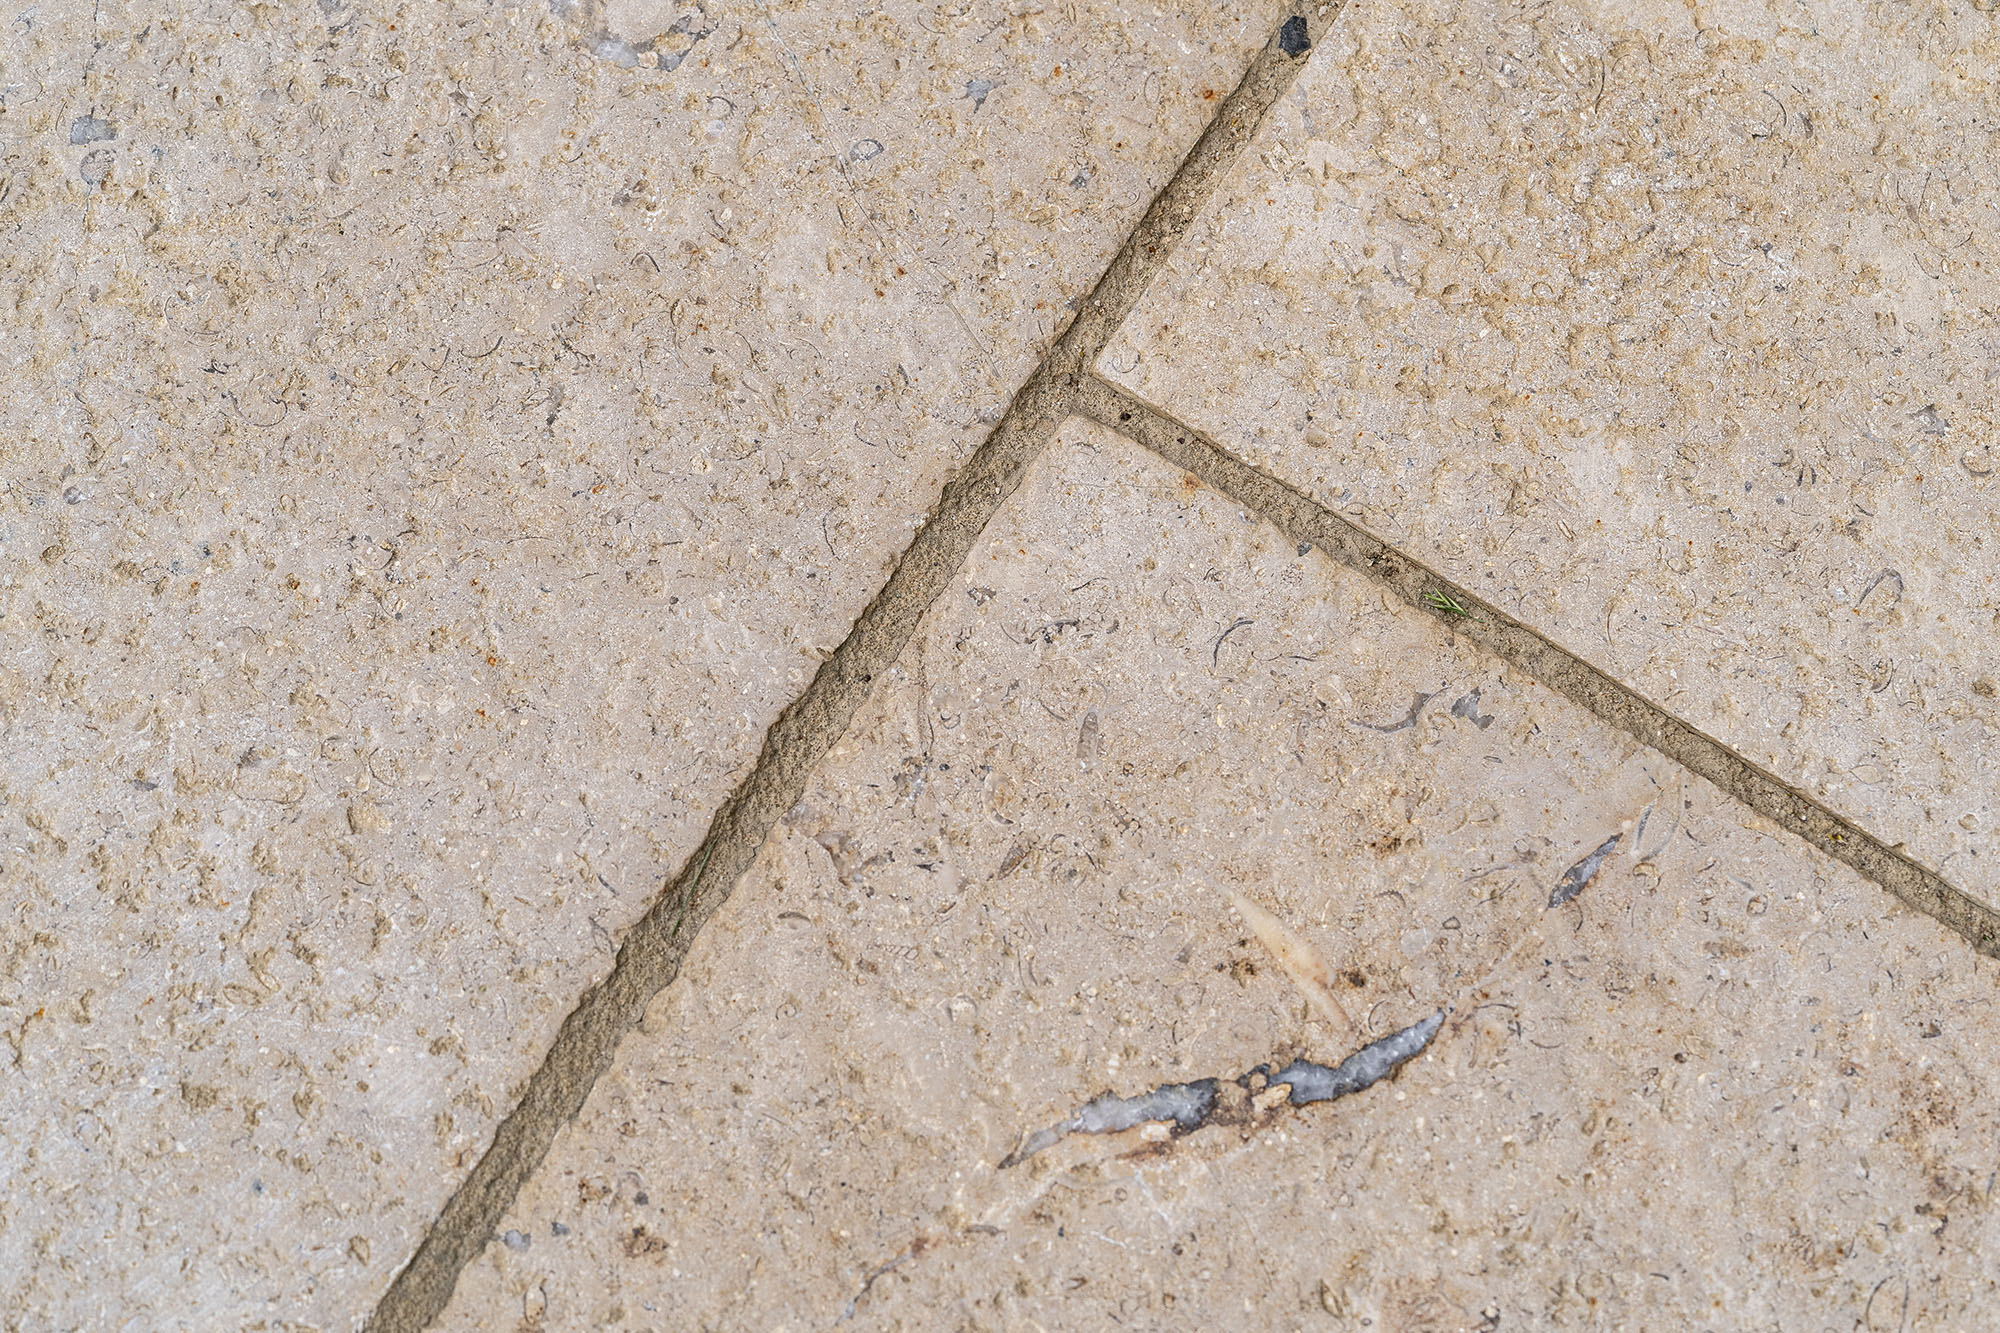
Patios face constant exposure to the elements — from rain, frost, and sunlight to regular foot traffic and organic debris such as leaves or soil. Over time, this combination gradually wears down paving, particularly when made from porous materials like sandstone, limestone, or concrete.
While leaving paving unsealed won’t cause immediate harm, it does make the surface more vulnerable over time. Porous stone absorbs moisture, creating ideal conditions for algae, moss, and black spot to grow. Everyday spills from food, barbecues, or plant pots can also leave lasting marks, and during winter, freeze–thaw cycles may lead to fine cracks as trapped water expands.
Aesthetic impact is another consideration. Unsealed stone can fade or become patchy in high-traffic areas, losing its original depth of colour. This uneven wear often makes patios look older and more weathered than they really are.
| Issue | Cause | Impact |
|---|---|---|
| Black spot & algae | Moisture & shade build-up | Slippery surfaces, deep discolouration |
| Staining | Spills, fallen leaves, planters | Permanent marks that soak into stone |
| Cracking | Water freezing inside porous stone | Flaking or structural damage over time |
| Fading | UV exposure and surface erosion | Uneven colour and patchiness |
In short, not sealing your patio means you’re leaving it exposed to the natural environment with no buffer. While this might be fine in the short term — especially for low-traffic areas — it’s important to weigh that against the extra time, effort, and cost of cleaning or restoring it later.

Sealing a patio isn’t always mandatory — but in most cases, it’s a worthwhile step. It shields the surface from staining, weather exposure, algae growth, and UV fading, all of which can make paving look older before its time.
For patios built with porous stone such as sandstone or limestone, sealing is especially valuable. These materials naturally absorb moisture, dirt, and organic deposits, which can lead to permanent marks or colour changes. A quality patio sealant creates a breathable barrier that simplifies cleaning and helps the paving last longer.
Sealing is also a smart choice if you’ve recently laid new paving or carried out a professional clean. It locks in the fresh appearance and protects the finish you’ve invested in.
Where sealing makes the biggest difference:
| Situation | Benefit of Sealing | Worth It? |
|---|---|---|
| New patio (natural stone) | Protects from day one, prevents early staining | ✔ Highly recommended |
| Heavily shaded areas | Discourages algae and black spot | ✔ Good idea |
| Pale-coloured stone | Helps retain natural colour and finish | ✔ Worth doing |
| Low-maintenance garden | Reduces regular cleaning effort | ✔ Long-term time saver |
| Older patio in good condition | Helps retain current condition longer | ✔ Still beneficial |
Yes — sealing your patio yourself is perfectly achievable, and many homeowners choose to do it. As long as the paving is in good condition and you take the right approach, it can be a straightforward weekend job. It doesn’t require specialist tools, and with a bit of preparation, you can achieve a strong, long-lasting finish that looks professionally applied.
Here’s how to do it:
1. Clean the patio thoroughly
Remove any dirt, algae, black spot, or remnants of jointing compound before applying sealer. A pressure washer and a dedicated patio cleaner make this process much easier. Avoid sealing over damp or dirty patches, as they’ll get trapped beneath the surface.
2. Allow the paving to dry completely
This is the most common step people rush. Even slight moisture can cause hazing or uneven results under the sealer. Let the paving dry for at least 24–48 hours in good weather before starting.
3. Choose the correct sealer for your stone
Different formulations suit different materials — sandstone, limestone, porcelain, or concrete all have specific needs. You can also choose between a natural matte or a colour-enhancing finish depending on your preference.
4. Apply evenly with a sprayer or roller
For larger patios, a pump sprayer works best; for smaller spaces, use a roller. Apply methodically in sections, ensuring even coverage and avoiding puddles. Always wear gloves and protect nearby borders or plants.
5. Let it cure properly
Once sealed, keep off the surface for 12–24 hours (check product instructions for exact curing times). Choose a dry, calm day with no rain forecast to ensure the best results.
Weeds are a common frustration for anyone with a patio. They tend to pop up between joints, along edges, and anywhere they find a gap. So, does sealing your patio actually stop them?
Not entirely — but it does help reduce them.
How sealing helps with weed control:
- Fewer gaps to take root in: A sealed surface reduces the porous entry points where seeds and debris usually settle.
- Drier conditions between joints: Weeds thrive in damp, gritty joints. Sealing keeps moisture out and deters growth.
- Easier to clean regularly: When your paving is sealed, sweeping away early weed growth is much easier.
While sealing won’t completely eliminate the chance of weeds, it works best as part of a broader maintenance approach — combine it with a proper jointing compound and the occasional power wash, and you’ll seriously cut down on the problem.
Less Weed Growth
Sealing fills gaps and stops weeds from rooting as easily between slabs.
Dryer Joints
Dryer conditions make it harder for moss and seeds to grow between paving joints.
Easy Maintenance
A sealed surface is easier to sweep, making weed prevention more manageable long-term.

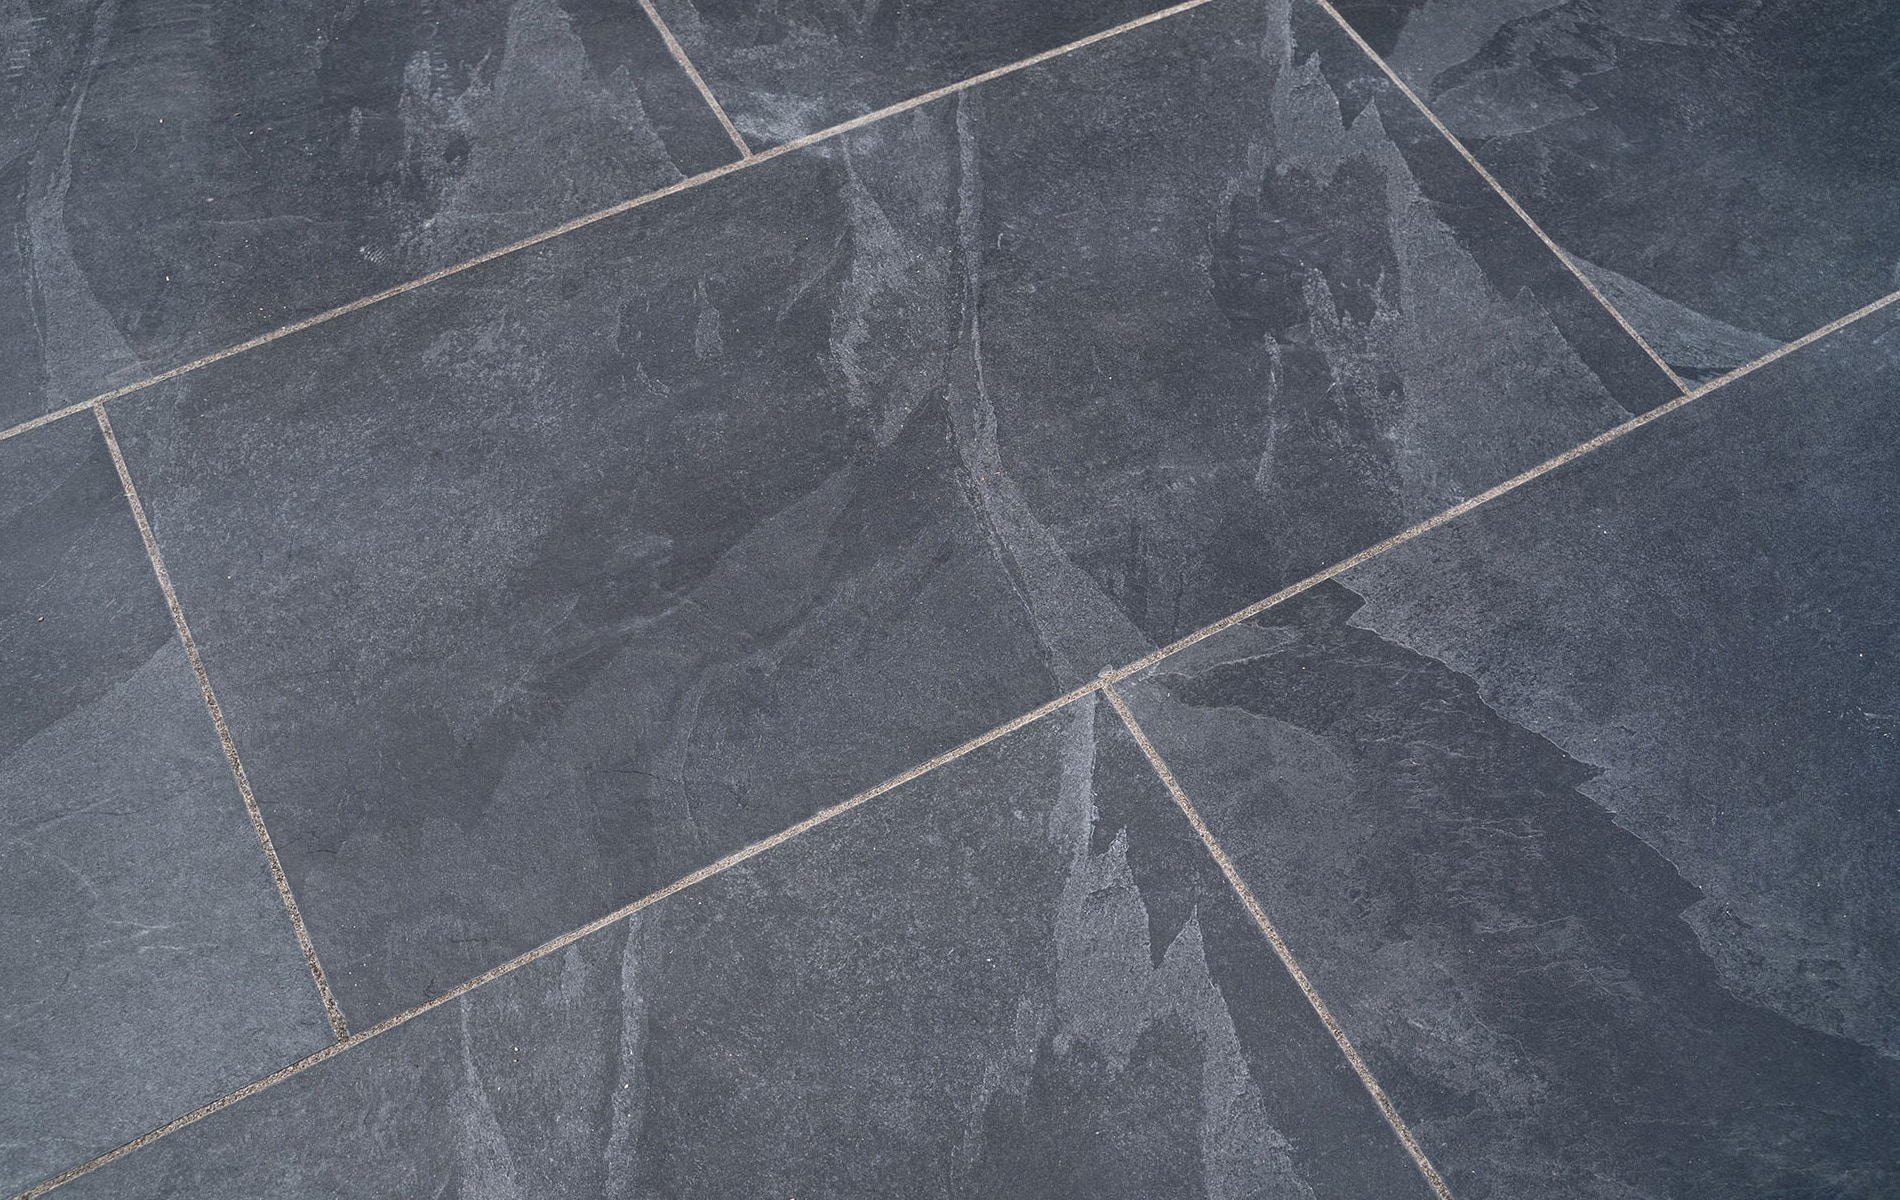
Natural stone patios
Natural stone is more porous than porcelain, meaning it absorbs moisture easily and is more prone to staining, algae, and frost damage.
Sealing is essential to help protect the surface and extend the life of the stone, especially with softer types like sandstone.
Most natural stone patios should be resealed every 2–3 years, though this depends on how exposed the area is, the type of sealer used, and the stone itself.
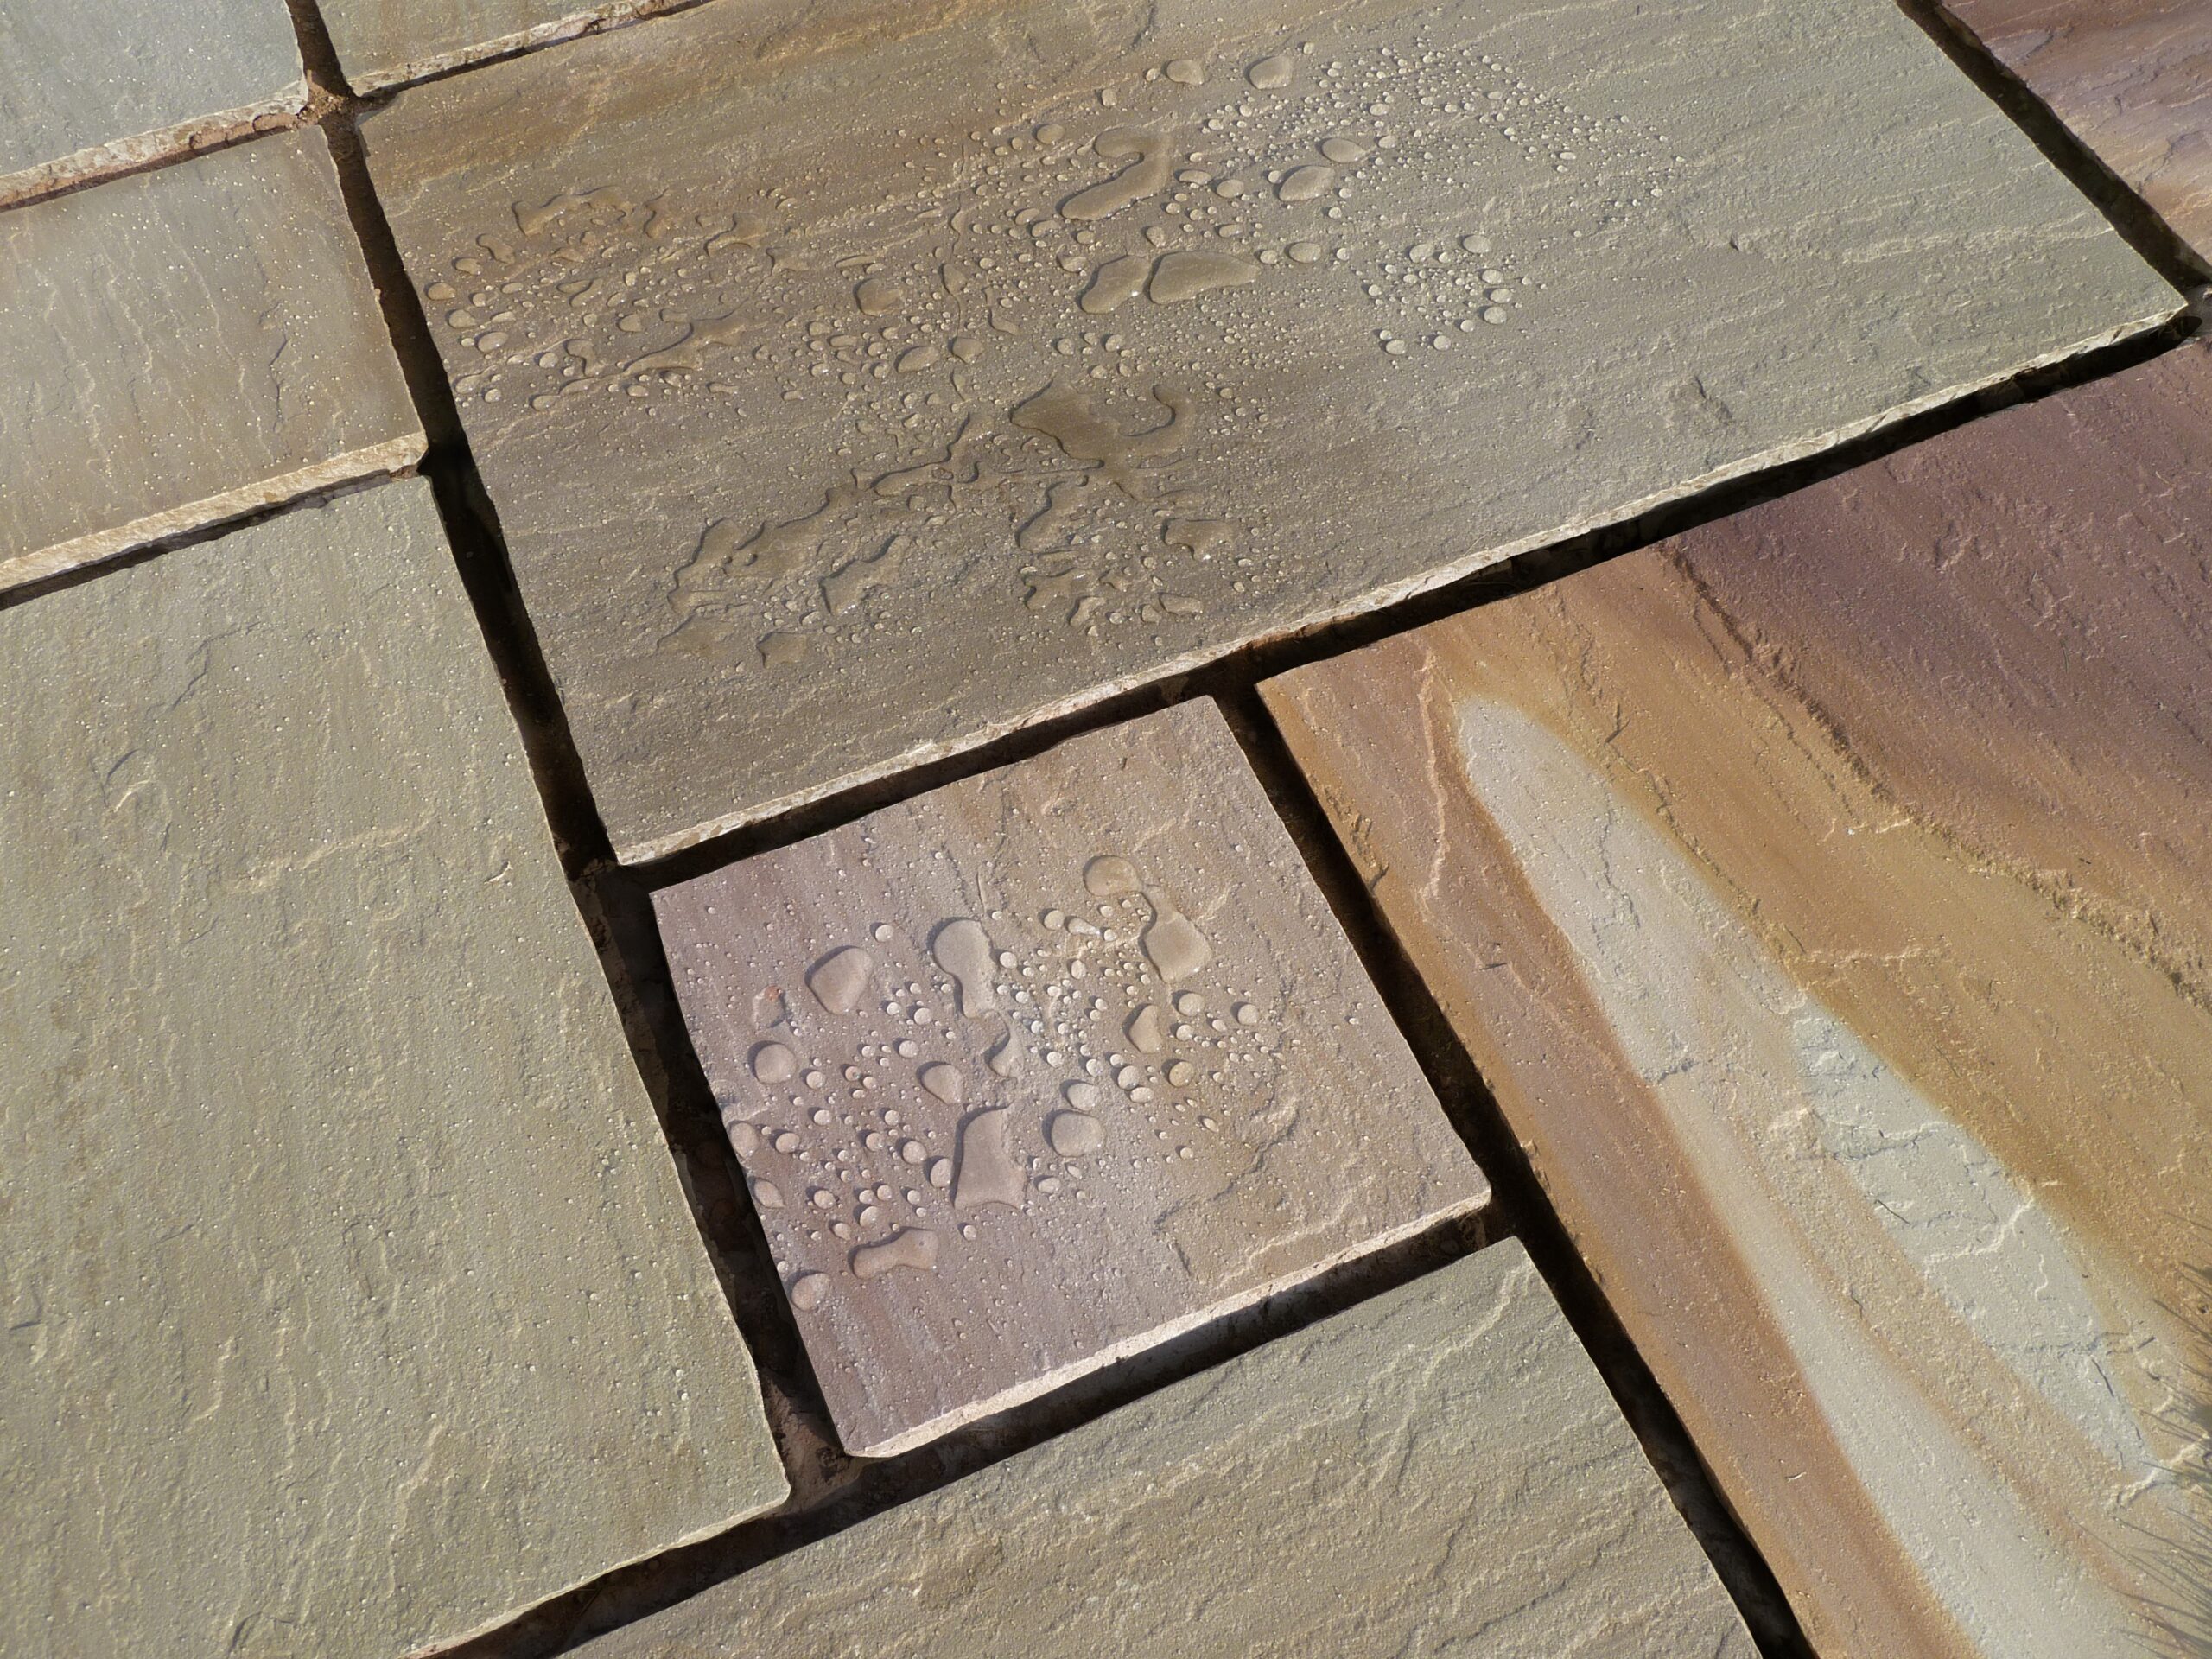
You’ll know it’s time to reseal when water no longer beads on the surface or when black spot becomes harder to control despite regular cleaning.
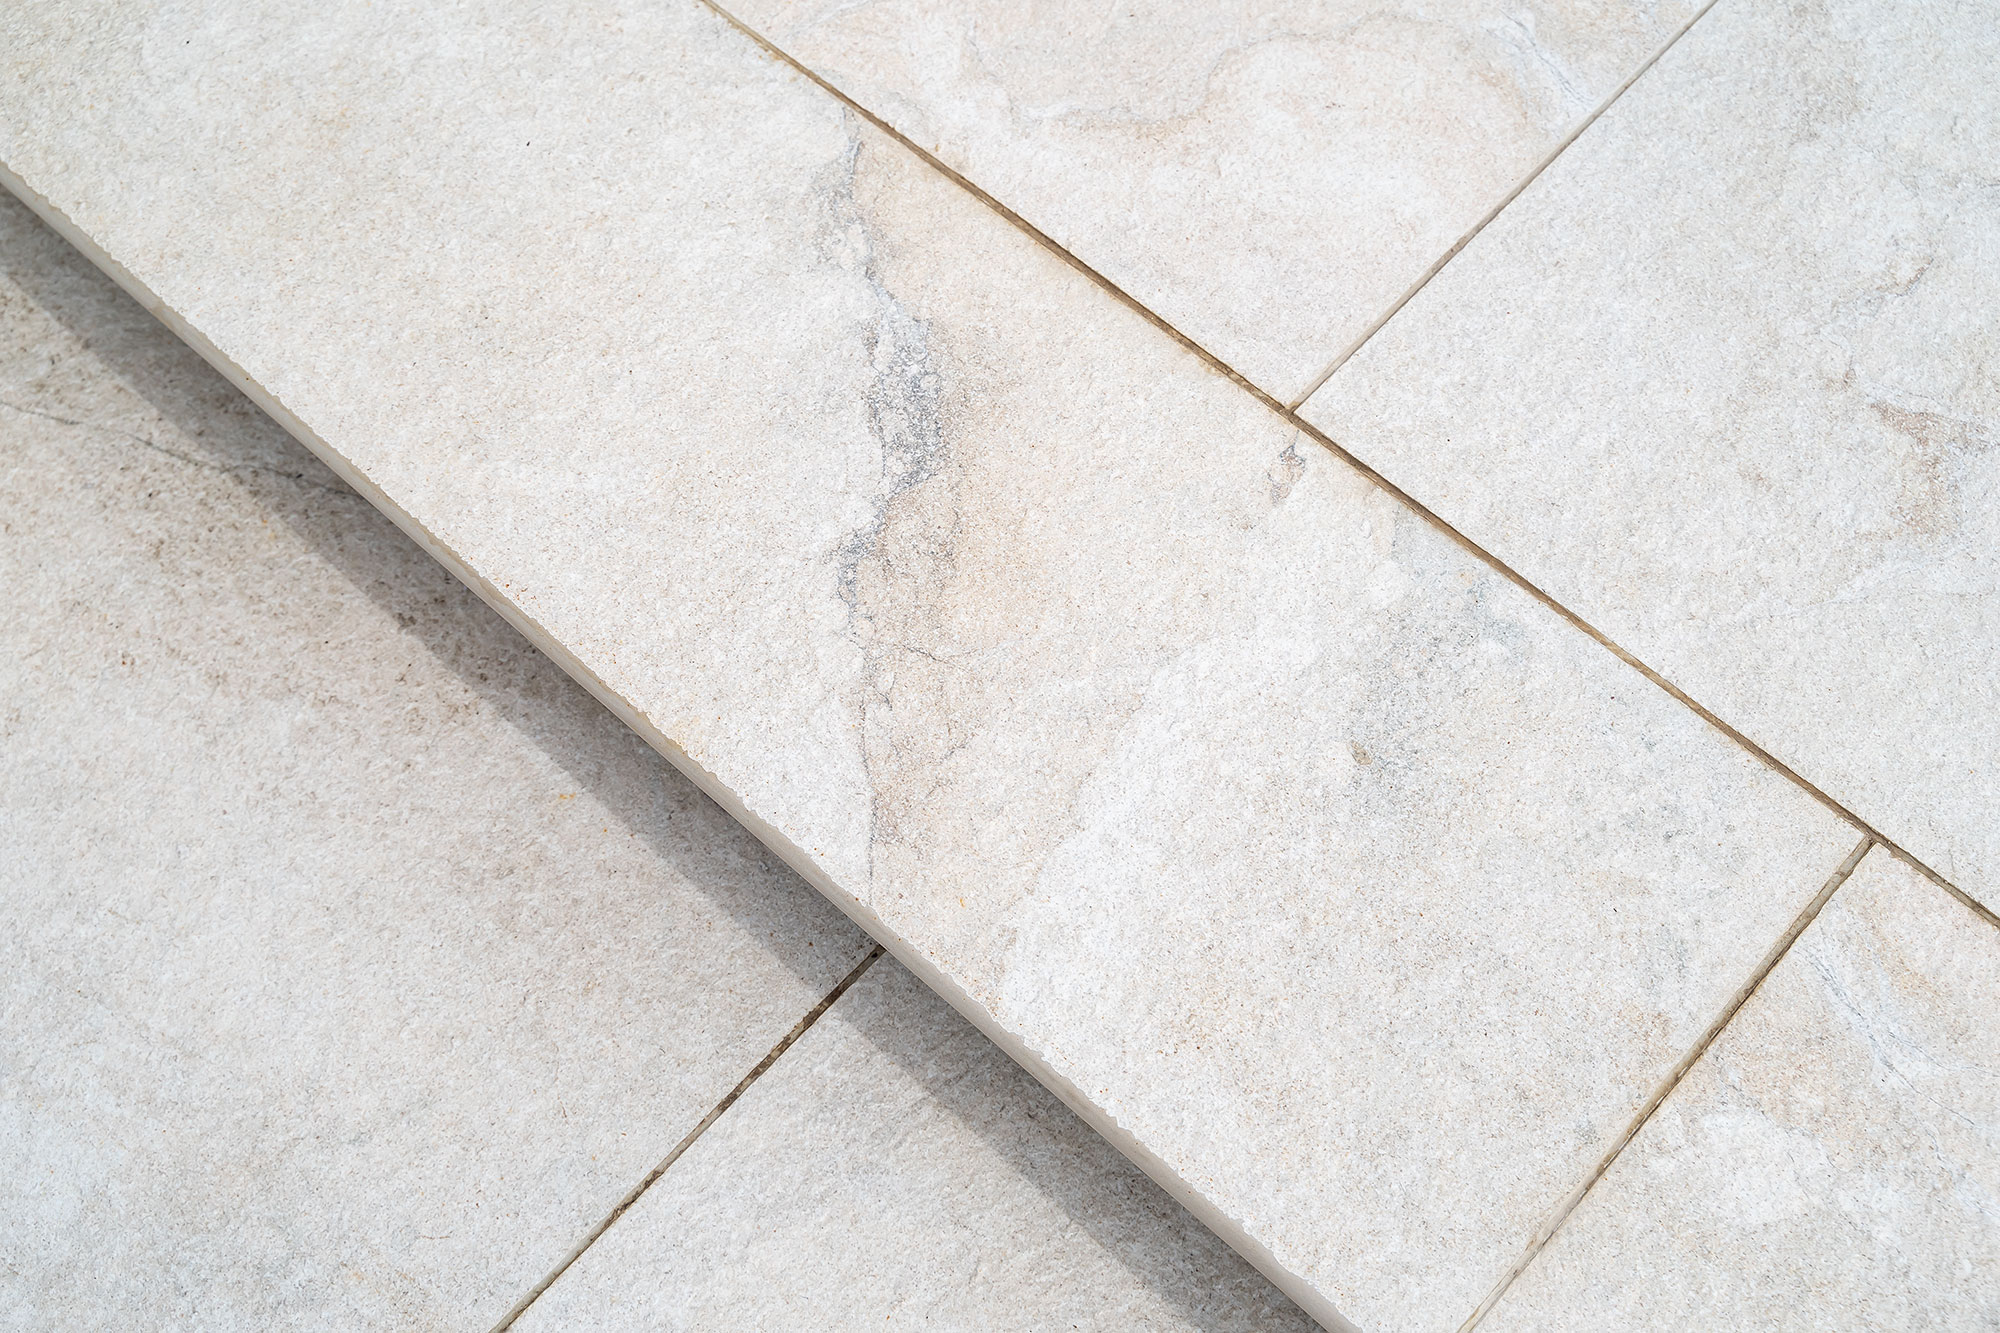
Porcelain patios
Porcelain is far less porous than natural stone. It doesn’t absorb moisture easily, which makes it more stain-resistant from the start.
Sealing porcelain is optional — and when done, it’s usually to protect the grout or pointing rather than the tile itself.
If you do seal porcelain, it may only need refreshing every 4–5 years, or even less frequently depending on the product used.
It’s important to make sure the patio is ultra clean before sealing, especially the joints — once sealed in, dirt can become a permanent feature.
| Paving Type | Resealing Frequency | Sealing Purpose |
|---|---|---|
| Sandstone / Limestone | Every 2–3 years | Protection, colour retention |
| Slate / Granite | Every 3–4 years | Prevent water damage |
| Porcelain | Every 4–5 years (if sealed) | Protect grout/joints only |
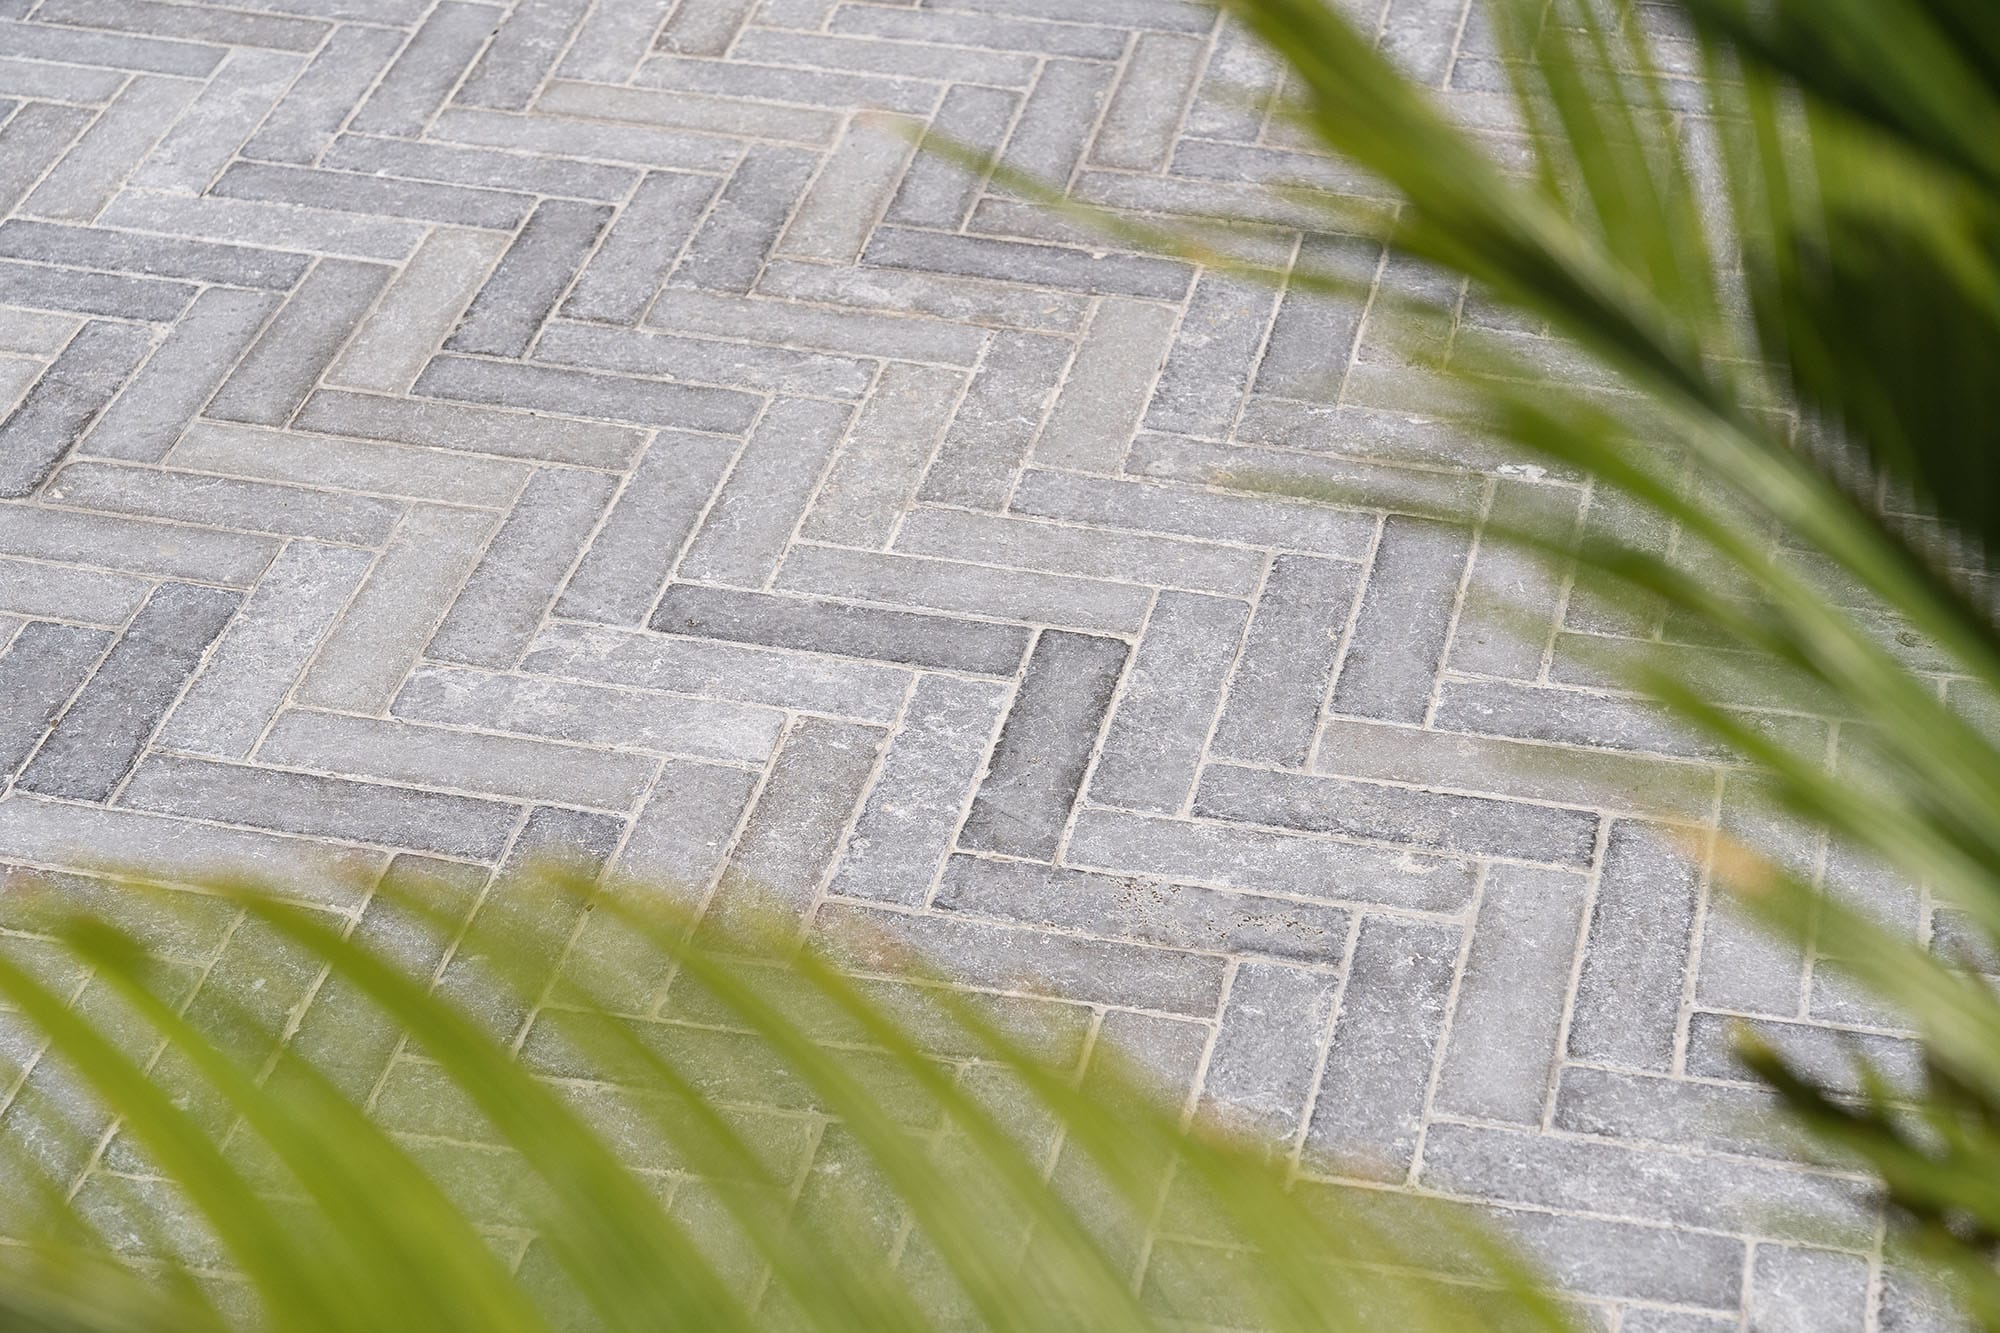
Block paving continues to be a popular choice for UK driveways and patios thanks to its durability, neat appearance, and straightforward installation. However, it’s also prone to common issues such as weed growth, colour fading, and shifting joint sand — which is why sealing is usually recommended.
In most cases, yes, sealing block paving is worthwhile. It helps protect both the surface and the sand-filled joints, keeping your driveway or patio looking cleaner and lasting longer.
Key benefits of sealing block paving:
- Prevents joint sand erosion: Wind, rain, and vehicle movement can displace kiln-dried sand. A good sealer binds it in place, keeping joints stable.
- Reduces weed growth: Once joints are sealed, weeds have fewer gaps to take root.
- Minimises colour fading: UV rays gradually dull block colours; sealing adds a layer of UV protection to retain vibrancy.
- Improves stain resistance: Oil, rust, and organic stains are much easier to remove from a sealed surface.
Sealing also restores depth of colour, helping older or weathered block paving look brighter and more uniform. For both new and existing installations, it’s a simple step that delivers a longer-lasting, low-maintenance finish.
Benefits
- ✔ Locks in joint sand
- ✔ Reduces weed growth
- ✔ Easier to clean oil and dirt
- ✔ Enhances colour and finish
Considerations
- • Needs dry weather for application
- • May require two coats for block paving
- • Will need reapplying every 2–4 years
The success of your patio sealing job doesn’t just depend on the product — timing matters just as much. Applying sealer in the wrong conditions can lead to poor performance, patchiness, or even trapped moisture.
The best time? Late spring to early autumn.
You want dry weather, mild temperatures, and low humidity — conditions that help the surface dry fully before and after sealing.
Here’s a quick seasonal breakdown:
| Season | Suitable for Sealing? | Notes |
|---|---|---|
| Spring (Apr–Jun) | ✅ Ideal | Rising temps & longer dry spells |
| Summer (Jul–Aug) | ✅ Good | Avoid midday heat; work early/late |
| Autumn (Sept–Oct) | ⚠️ Possible | Only if it’s dry — watch the forecast |
| Winter (Nov–Mar) | ❌ Not recommended | Too damp, cold, and unpredictable |
Before sealing, it’s important to choose the right weather window. Conditions that are too wet, too hot, or too cold can all affect how the sealer bonds and cures, leading to patchy or reduced protection.
Key points to check before sealing:
- Dry weather window — Allow at least 48 hours of dry conditions before and after sealing. This ensures the patio is completely dry beforehand and gives the sealer time to cure without interference from rain or moisture.
- Temperature range — The best daytime temperature is between 10°C and 25°C. Sealing in hot weather can cause the product to dry too quickly, while cooler conditions can slow curing and affect the finish.
- No frost or heavy dew — Frost, overnight dew, or damp air can compromise the finish, leaving cloudy marks or weakening the sealer’s effectiveness. Always check the forecast before you begin.
Taking a little extra care with timing ensures even coverage, a longer-lasting finish, and the best overall protection.
Getting the right quantity of sealer makes all the difference — too little leads to patchy results, while too much means unnecessary expense. Luckily, working it out is straightforward once you know the size of your patio and the sealer’s coverage rate.
Step-by-step guide:
1. Measure your patio
Work out the total surface area by multiplying the length × width (in metres). Example: 8m × 4m = 32m².
2. Check the product coverage
Look at the instructions on the label. Rob Parker’s Best Patio Sealer typically covers 6–8m² per litre, per coat, depending on how porous the stone is.
3. Factor in the number of coats
Most natural stone patios will need 2 coats. Porcelain, being less porous, may only need 1.
4. Do the calculation
Take your total m², divide by the coverage rate, and then multiply by the number of coats required.
32 ÷ 7 = 4.57 litres per coat 4.57 × 2 coats = **9.14 litres total**
- You’ll need just under 10 litres — so you’d likely buy two 5L tins.
Pro Tips:
- Porous stone like sandstone may absorb more — expect closer to 6m² per litre.
- Always read the tin — not all sealers have the same spread rate.
- Test a small area first — especially if your patio has mixed stone or patch repairs.
Suggested image location: diagram showing patio dimensions with two sealed coat layers visualised.

Buy Patio Sealer
1 litre: £38.00 + VAT | 5 litre: £175 + VAT
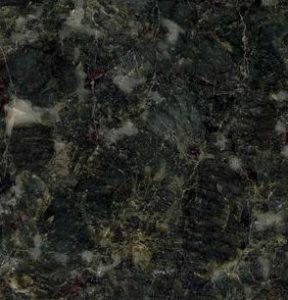
Sealing Granite
Granite is one of the toughest and most durable natural stones, offering excellent resistance to daily wear and weathering. However, even granite is not completely maintenance-free — prolonged exposure to rain, frost, and algae can slowly impact its surface, particularly in the UK’s damp climate.
Sealing granite provides an added layer of protection, helping to repel water, oils, and dirt. It also reduces the buildup of algae and black spot, keeping the stone cleaner for longer and making maintenance far easier — especially in shaded or moisture-prone areas such as pool surrounds or steps.
Because granite is very dense, it absorbs less sealer than more porous stones. Always use a breathable sealer and apply it sparingly to avoid overapplication or streaking.
For a natural finish, opt for a neutral, non-enhancing sealer that preserves granite’s original matte tone and subtle surface texture.
Sealing Quartz
Quartz — whether engineered or resin-bonded — is often chosen for outdoor areas where a polished, high-end finish is desired. It’s naturally resistant to staining, but sealing can offer added protection against UV fading and long-term weathering.
Sealing quartz helps guard against discolouration and residue build-up, making regular cleaning easier and less abrasive. It also supports the long-term preservation of its sleek, polished appearance.
Not all quartz finishes absorb sealers evenly, so it’s important to carry out a spot test before applying it across the entire surface.
Granite
- ✔ Dense & durable
- ✔ Sealing improves longevity
- ✔ Matte finish works best
Quartz
- ✔ Low maintenance
- ✔ Sealing optional
- ✔ Use invisible protector

Buy Quartz and Granite Sealer
500ml: £19.50 + VAT
What should I do if I accidentally over-applied sealer?
If too much patio sealer has been applied, the excess can leave the surface patchy, tacky, or uneven. The first step is not to panic — it’s a common mistake and can usually be corrected. While the sealer is still fresh, use a clean cloth to wipe away surplus product, or lightly re-roll the area to even out the finish.
If the sealer has already started to cure, apply a little more sealer to reactivate the surface, then immediately wipe or spread it evenly. In more stubborn cases, a suitable sealer remover may be needed to strip back the affected area before reapplying correctly.
The key is to always apply thin, even coats and allow proper drying between applications — this prevents build-up and ensures the protection works as intended.
Best practice: Apply patio sealer in thin, even coats. If you’ve applied too much, re-dissolve with a little more sealer and wipe away the excess before it sets.
What weather conditions are best for sealing a patio?
For the best finish, seal your patio during dry, mild weather — ideally when temperatures are between 10°C and 20°C. This helps the sealer absorb evenly without drying too fast or being affected by excess moisture.
Avoid applying sealer in direct, strong sunlight, as it can cause flash-drying and leave uneven patches. Likewise, don’t seal if rain is expected within 24 hours or if the paving is still damp from previous weather.
It’s also best to avoid windy conditions, which can blow dust or debris onto freshly treated surfaces. The ideal setup is a calm, dry day with moderate temperatures — giving the sealer enough time to cure evenly and form a lasting, protective bond.
How can I avoid white haze forming after sealing?
White haze, often caused by efflorescence, appears when moisture beneath the patio brings salts to the surface as it evaporates. To minimise the risk, make sure the paving is completely dry before applying a sealer and always choose a breathable product that allows moisture to escape. Avoid sealing just after cleaning or if rain is forecast.
If haze does appear, it can usually be treated by scrubbing with a pH-neutral cleaner and rinsing the area, then allowing it to dry fully before considering another coat of sealer.
Sealing your patio doesn’t need to be overwhelming — and whether you’re cleaning, protecting, or maintaining your paving, the right approach makes a big difference over time.
If you’ve got questions about which sealer to use, how to apply it, or what’s right for your specific stone — we’re happy to help.
Phone: 01993 608 824
Email: info@robparkersbest.co.uk
Website: robparkersbest.co.uk
We stock sealing products that are simple to apply and made for British conditions — so whether you’re looking to protect fresh paving or revive old stone, you’re in the right place.